In this post, I would like to show you how to program the KS0260 from Keyestudio type touch keypad with 16 buttons on the Arduino.
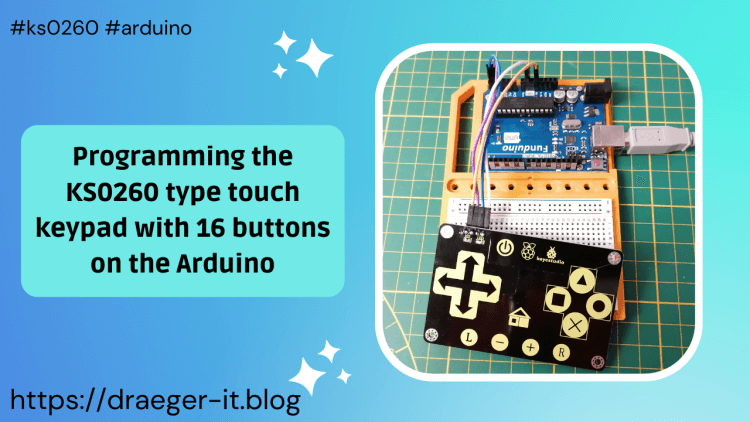
The touch keypad comes pre-assembled in a small box, so all you really need is 4 breadboard cables and a microcontroller.
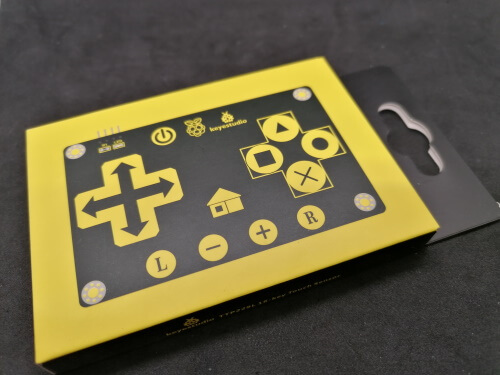
Obtaining the touch keypad
The model I have was purchased on ebay.de for about €4.7 plus shipping costs*.
Note from me: The links marked with an asterisk (*) are affiliate links. If you make a purchase through these links, I will receive a small commission to help support this blog. The price for you remains unchanged. Thank you for your support!
Assembly
The KS0260 touch keypad is connected via I2C, which results in 4 pins that need to be connected to the microcontroller.

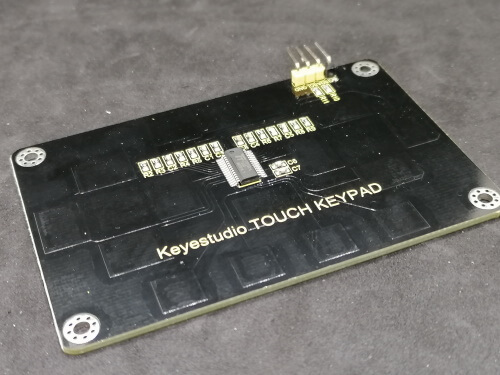
Connection to the microcontroller
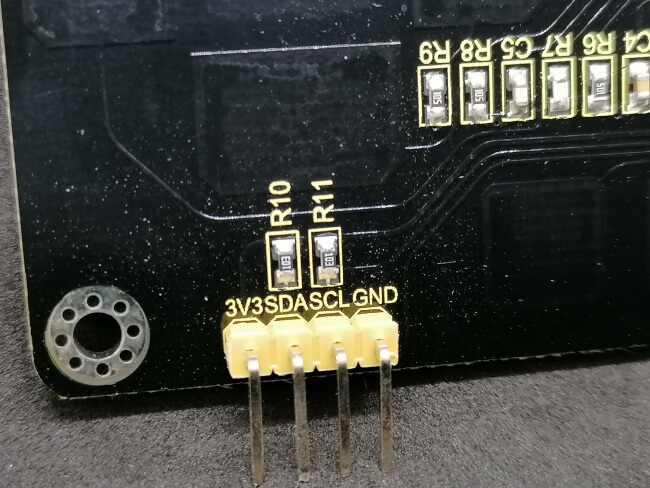
As seen in the above image, the module has an I2C interface, which results in the following connection plan:
| KS0260 | Arduino Microcontroller |
|---|---|
| 3V3 | 3.3V |
| SDA | analog pin A4 |
| SCL | analog pin A5 |
| GND | GND |
For this post, I am using the Funduino UNO, which is very similar to the Arduino UNO.

Connection & Programming
In the following YouTube video, I will show you how to connect the Keyestudio KS0260 touch keypad to the Funduino UNO and program it.
Programming
In order to program the KS0260 type touch keypad, we need a library, which can be downloaded from the Ks0260 keyestudio TTP229L 16-key Touch Sensor Wiki page as a RAR file, including an example.
However, since the example provided by the manufacturer generates unnecessary output on the serial interface and the buttons are not described there, I took the time to expand the library.
You can download this library from the link below and install it as a ZIP library in the Arduino IDE (which is not possible with the RAR file).
Using the library
As mentioned earlier, the ZIP file can be imported as a library into the Arduino IDE, and it also contains a small example.
The 16 buttons now have a name and can be accessed through it. To get these names, we just need to initialize the KS0260Button class and then access the constants.

Now, it is quite easy to check with an if-statement whether the pressed button corresponds to one of the buttons.
data = TTP229_i2c_read();
if (data != 2 && data != 0) {
   String button = "-undefine-";
   switch (data) {
      case btns.button_power:
         button = "Power";
         break;
     }
}
In the code snippet, I have left out the values 2 & 0, as they are alternately output, even if no button is pressed.
Example
Here is the example that I have attached to the ZIP file.
#include "TTP229L_I2C.h"

unsigned int data;

#define debugKs0260 false

KS0260Buttons btns = KS0260Buttons();
btns.button_

void setup() {
  Serial.begin(9600);
}

void loop() {
  data = TTP229_i2c_read();
  if (data != 2 && data != 0) {
    String button = "-undefine-";
    switch (data) {
      case btns.button_power:
        button = "Power";
        break;
      case btns.button_raspberry:
        button = "Raspberry";
        break;
      case btns.button_up:
        button = "Up";
        break;
      case btns.button_down:
        button = "Down";
        break;
      case btns.button_left:
        button = "Left";
        break;
      case btns.button_right:
        button = "Right";
        break;
      case btns.button_home:
        button = "Home";
        break;
      case btns.button_triangle:
        button = "Triangle";
        break;
      case btns.button_quare:
        button = "Quare";
        break;
      case btns.button_circle:
        button = "Circle";
        break;
      case btns.button_cross:
        button = "Cross";
        break;
      case btns.button_l:
        button = "L";
        break;
      case btns.button_minus:
        button = "Minus (-)";
        break;
      case btns.button_plus:
        button = "Plus (+)";
        break;
      case btns.button_r:
        button = "R";
        break;
      default:
        Serial.println("Unknown Code[" + String(data, DEC) + "] found!");
    }
    Serial.println(button);
  }
}
If you upload this code to the microcontroller and press buttons on the touch keypad, the respective text will be output on the serial interface.
Letzte Aktualisierung am: 10. March 2024