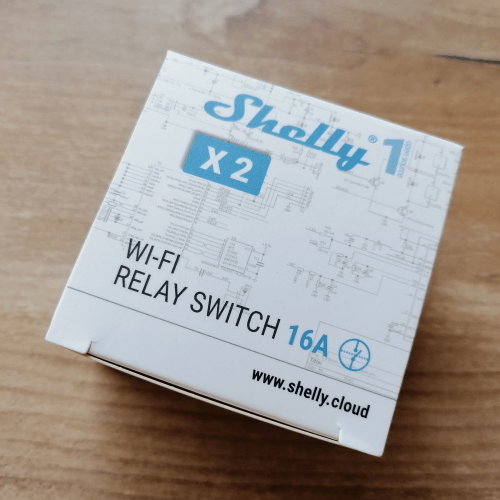
In this post, I want to introduce you to the Shelly and show you how to set it up and create an app-controlled socket.
I have already explained in detail how to control a socket using Amazon Alexa in the German article ESP8266 – Alexa gesteuerte Steckdose. Here, however, we will first look at how to set up the Shelly 1 and the Android app.
Buy a Shelly 1
You can get the Shelly 1 in the official shop (at shop.shelly.cloud) at the best price of just under 9 € plus shipping costs. The shipping time was very fast at just under 4 days, so this is another clear plus point for the shop.
Of course, you can also find this device on other sales platforms.
| Shop | Price (without shipping) |
|---|---|
| ebay.de | €13 – €18.5* |
| amazon.de | €16.99* |
| reichelt.de | €10.9 |
| conrad.de | €11.99 |
| berrybase.de | €11.15 |
Note from me: The links marked with an asterisk (*) are affiliate links. If you make a purchase through these links, I will receive a small commission to help support this blog. The price for you remains unchanged. Thank you for your support!
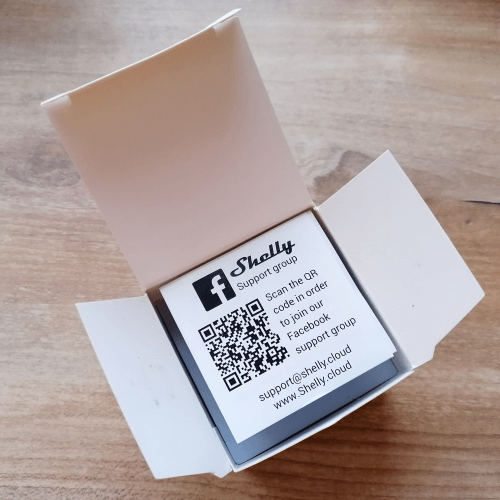
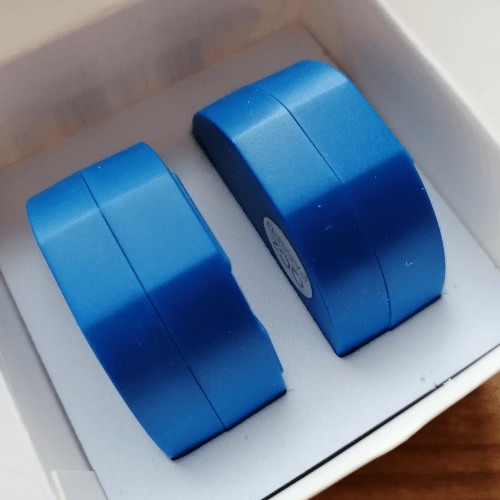
Scope of supply
I ordered the Shelly from the official shop in a double pack, and it was delivered in a simple shipping bag.
Technical data of the Shelly 1
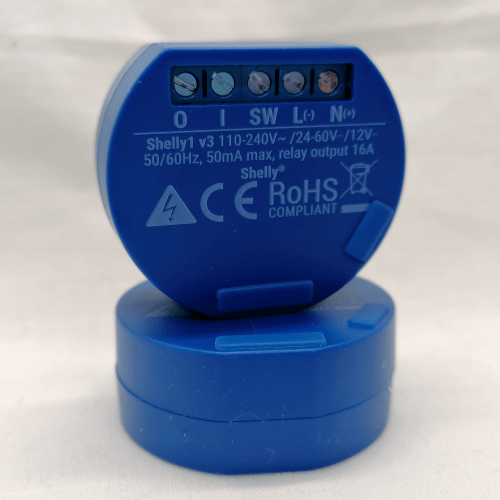
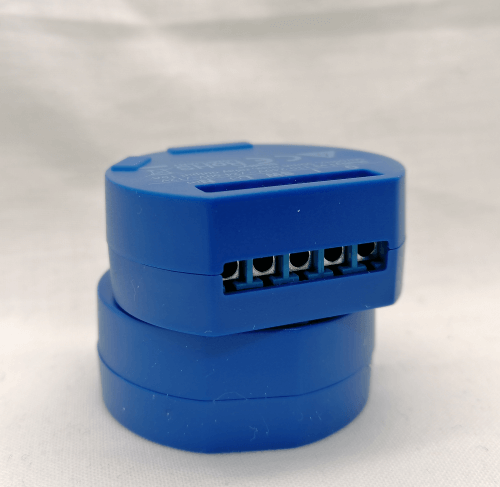
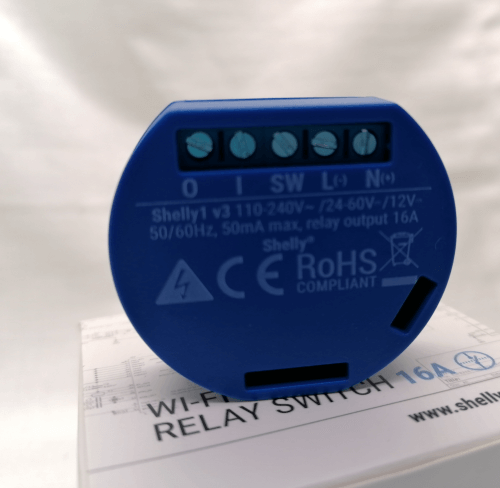
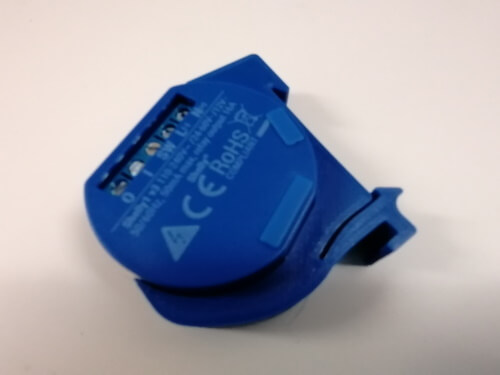
The Shelly 1 in the 16 A relay version has 5 screw terminals and a pin strip with 5 sockets on which various pins of the built-in microcontroller can be tapped.
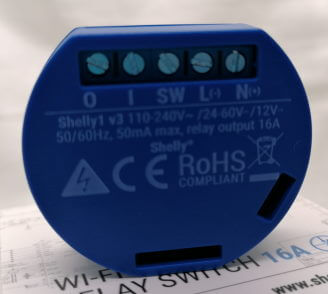
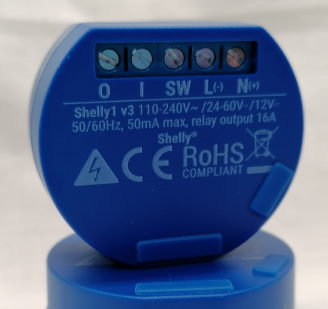
In addition, the voltage can be set via a “bridge” jumper.
The socket connector & the bridge are hidden under two small rubber caps which can be lifted off quite easily with a screwdriver.
| Input voltage | 110V to 220V ± 10%, at 50Hz / 60Hz |
| Maximum switching load | 16A, 110V bis 265V – AC voltage, 16A, 12V – DC voltage, 16A, 24V to 60V – DC voltage |
| Ambient temperature | -40 °C to +40 °C |
| Signal strength | 1mW |
| Radio / WiFi protocol | 802.11 b/g/n |
| WiFi frequency | 2400MHz to 2500MHz |
| Power consumption in idle mode | < 1W |
| Dimensions (L x W x H) | 40 mm x 36 mm x 17 mm |
| min. Mounting opening | Ø 50 mm |
Pinout and structure of the Shelly
As already mentioned, the Shelly 1 has a few interfaces, and I would like to show you these in this section.
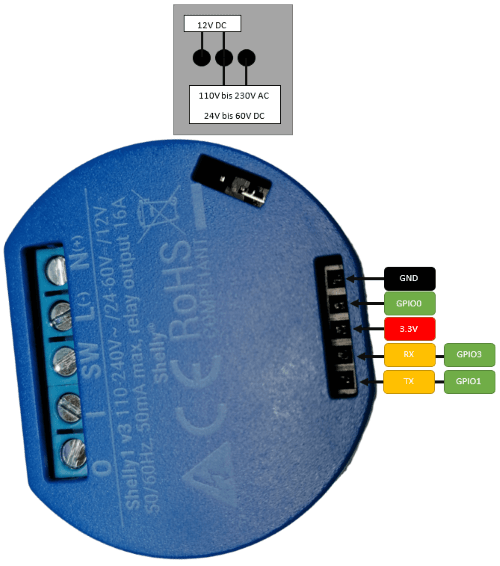
The Shelly is delivered with the “settings” for operation on the 230V mains.
Safety instructions
In this article, the Shelly is connected to the 230V mains supply. If you want to copy this, you should observe the 5 safety rules for handling electricity!
- Unlock,
- secure against being switched on again,
- Determine absence of voltage,
- Earth & short-circuit,
- Barrier or cover neighbouring live components.
You can easily determine the absence of voltage with a non-contact voltage tester. This, in my opinion, useful tool can be purchased cheaply on ebay.de for as little as €16.
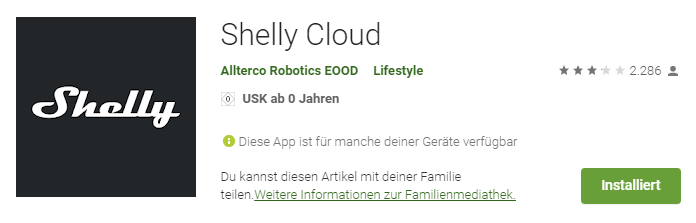
Set up Shelly on an Android device
In the Google Play Store you can find the matching Android app “Shelly Cloud”.
Requirements of the Android App
The current version 4.2.3.e65537c (as of 23 April 2021) requires at least Android version 4.4 and at least 14 MB memory. This means that you can still use an old mobile phone or tablet to control your Shellys.
Setting up the app
You can find out how to set up the Shelly app and a matching Shelly 1 here in the YouTube video.

In the video I show you the easy and above all frustration-free way via the local IP address 192.168.33.1 of the Shelly.
There is also the possibility to find and integrate the Shelly via the app, but this is a bit more complicated and doesn’t always work the first time.
Set up the Shelly via the app
As mentioned, you can also set up the Shelly via the app, but this is not exactly frustration-free and therefore it may be that this process is not successful the first time (or the second, third, fourth …). But for the sake of completeness, I would like to show you this way.
build an app controlled socket
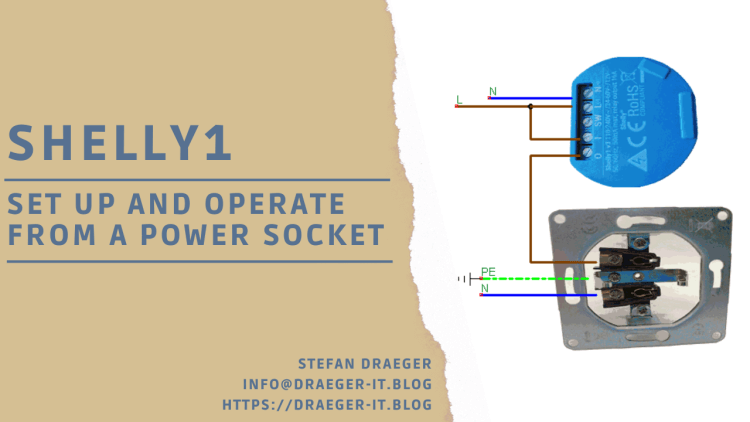
In the following I would like to show you how you can connect the Shelly to a socket and thus control an electrical device via the Shelly Cloud App.
In the german article ESP8266 – Alexa gesteuerte Steckdose I have already shown you how you can use a Wemos D1 Mini incl. Relaishield to control a socket via the Alexa service from Amazon by voice.
Shelly set up for the socket
You can install the small Shelly in a double-deep cavity wall box and there is still enough space for a series switch or a socket.
In this section I will show you how to connect / wire the Shelly to the 230V mains, of course I do not guarantee that this is 100% correct and I also do not guarantee that this will work as smoothly for you.
required resources
If you want to rebuild the small project, then you need the following components:
- a flush-mounted socket,
- one double-deep cavity wall socket,
- NYM 3×1,5 installation cable,
- luster terminals / wagon terminals
Tools
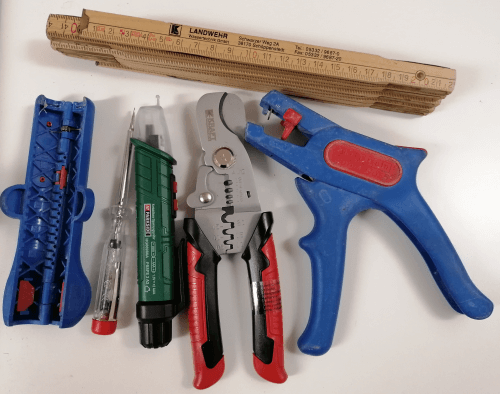
And of course you need some tools:
- Side cutter,
- wire strippers,
- can remover,
- Can drill Ø 68 mm (wood / concrete),
- folding ruler (also called folding rule),
- 2-pole voltage tester / phase tester
Since I’m setting the cans in a wood slab for this little project, I need a 68mm can drill bit for wood, so if you want to set them in concrete I recommend spending a little more money and getting a decent one.
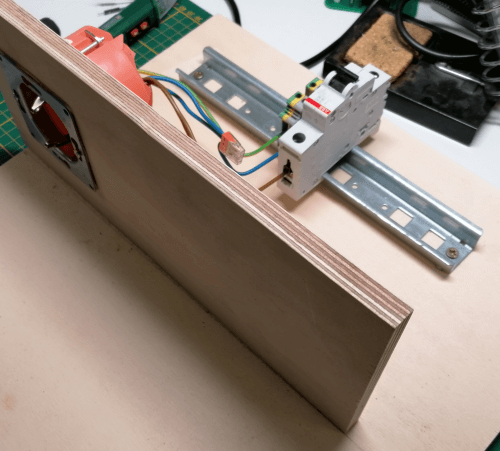
Construction of a test wall
Since I don’t want to tear up a wall in this little project, I’m creating a small “test wall” out of two wooden panels and a top hat rail.
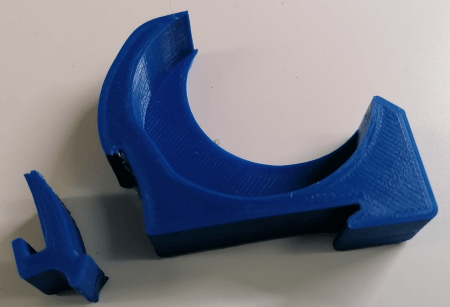
Since the Shelly is usually installed in a cavity wall box or in a control cabinet I have printed with the 3D printer an adapter for the DIN rail. (the template I have from Thingiverse).
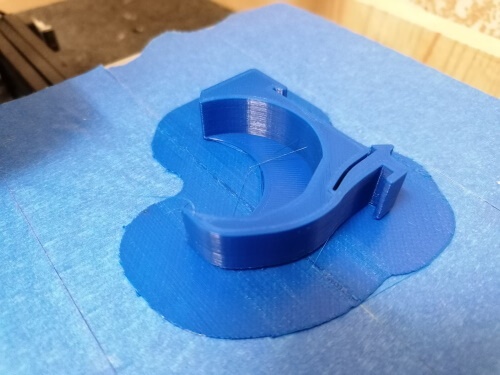
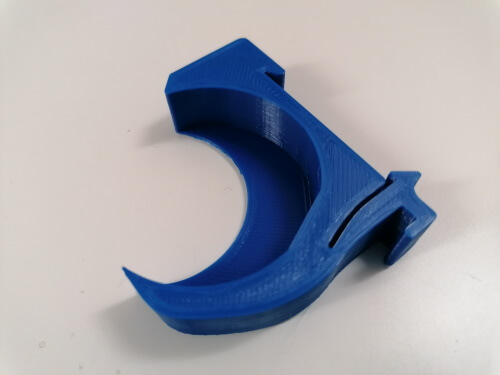
However, this is not really stable and breaks when you try to lever the bracket off the DIN rail with a screwdriver.
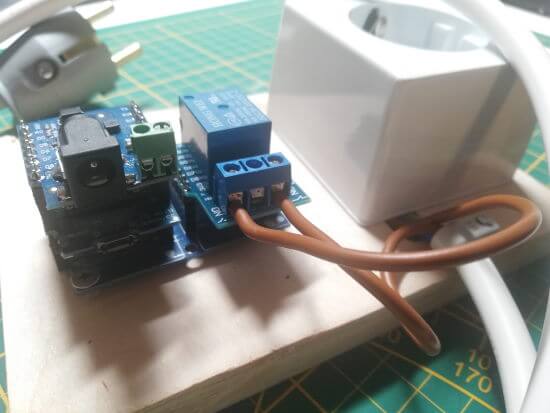
Shelly wiring
To switch a simple socket via the Shelly, we simply need to wire it in series with the socket.
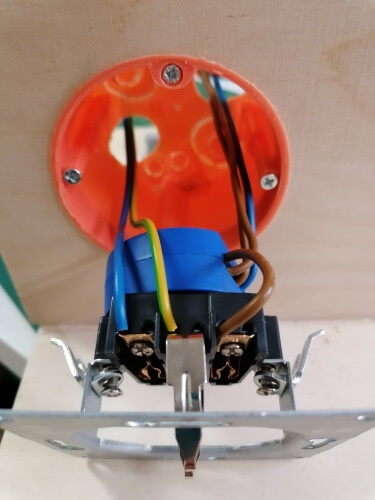
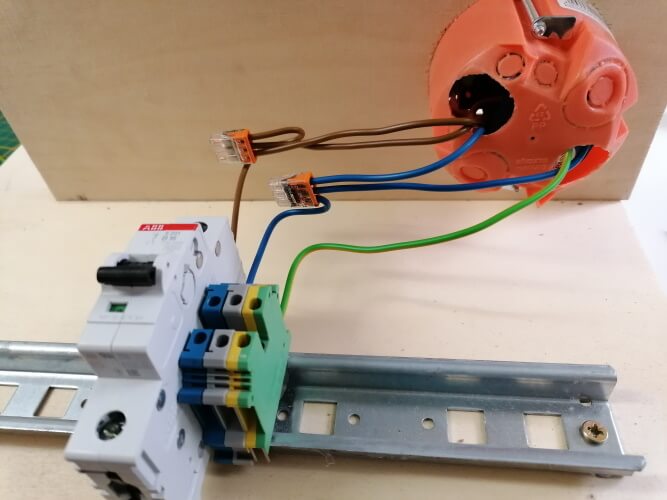
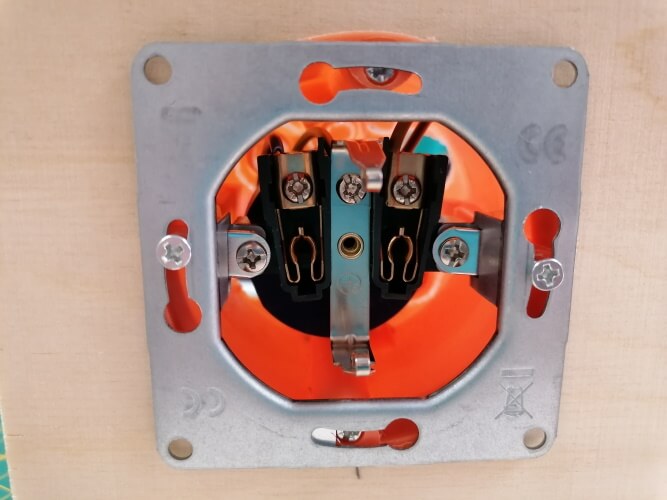
To the terminal block & the 16A circuit breaker, I connect a flexible 3×1.5mm copper wire with a Schuko plug.
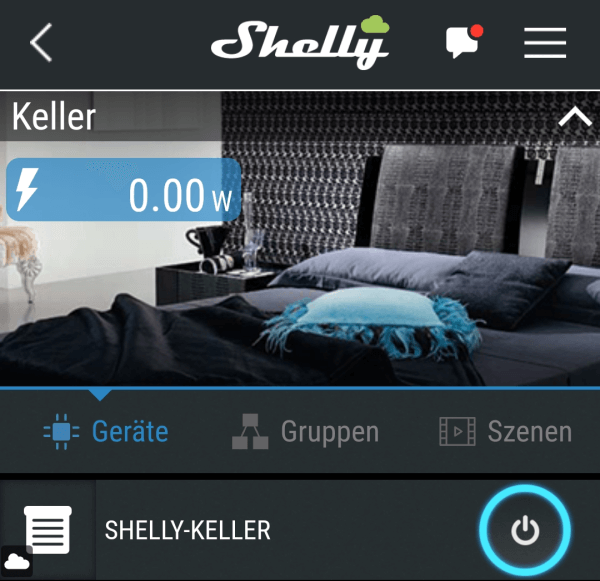
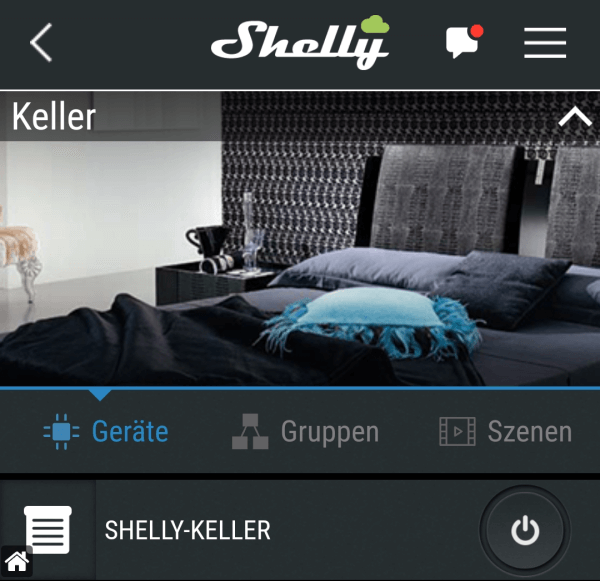
Since we have previously set up the app so that the Shelly is named “socket”, we can use this configuration to switch the socket.
Please note: The Shelly can switch a maximum load of 16A, therefore this current must be observed for connected devices.
Troubleshooting
Change Wi-Fi connection data
If you have changed the Wi-Fi network in the meantime, you may have to renew the access data. A reset helps here by switching the Shelly ON / OFF 5 times at intervals of 2 seconds.
Shelly is not found in the app
If your device is not found in the Shelly app then it may be because you are on a different network. In my case, I have 2 Wi-Fi networks, one 2.4 GHz and one 5 GHz, and only after switching to the 2.4 GHz network with my phone, the device was found.
Conclusion
Setting up a Shelly is sometimes quite frustrating (see Trobleshooting).
However, once the Shelly is set up correctly, this works great and very reliably.
Letzte Aktualisierung am: 10. March 2024