In this post, I like to show a presentation of the multifunctional shields for the Arduino UNO R3.
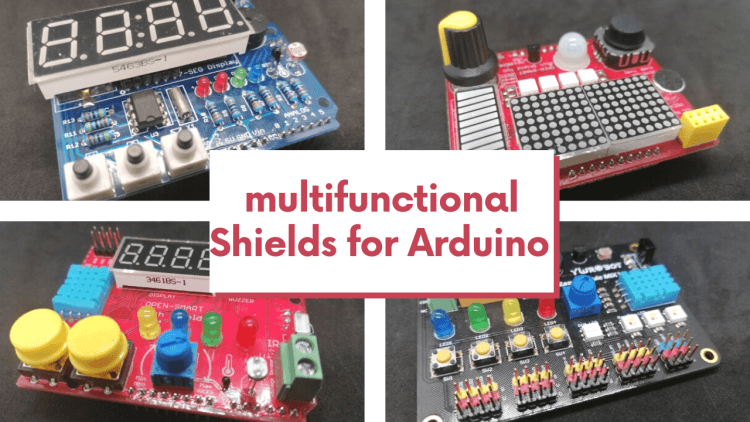
What is a multifunctional Shield?
In the past, I have already presented some, but on my German section of the blog. This blog post will give you a first overview of the most common multifunctional shields.
The main shields of them you stick onto an Arduino UNO. You can stick them on an Arduino Leonardo to but some Sensors & Actors with I²C connection will not work, the Leonardo does have the I²C Pins not at A4 & A5.
In summary, the multifunctional shields have various sensors & actuators built in, which can be programmed via the Arduino. These sensors are already connected via SPI, I²C, analog pins etc. and therefore an otherwise error-prone wiring is not necessary.
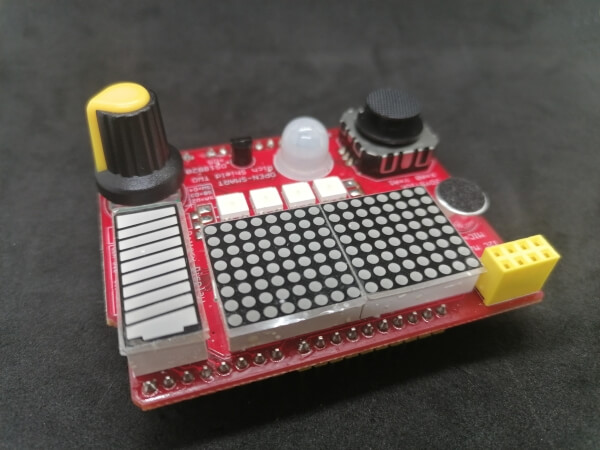
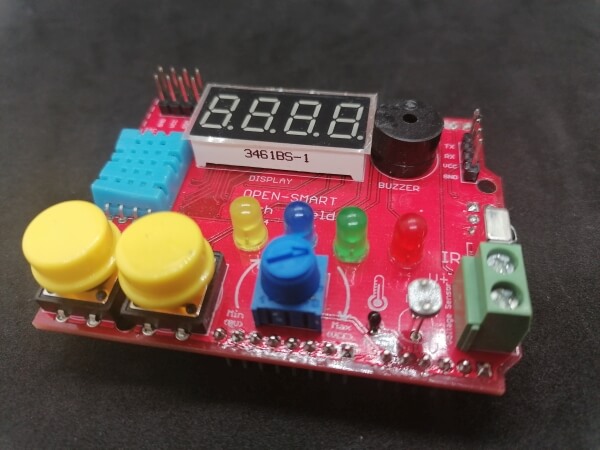
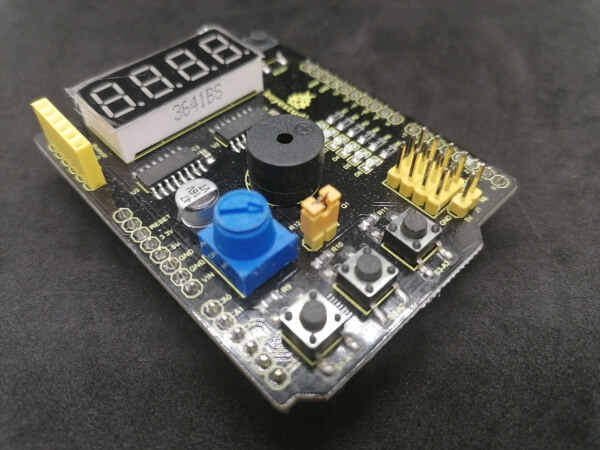
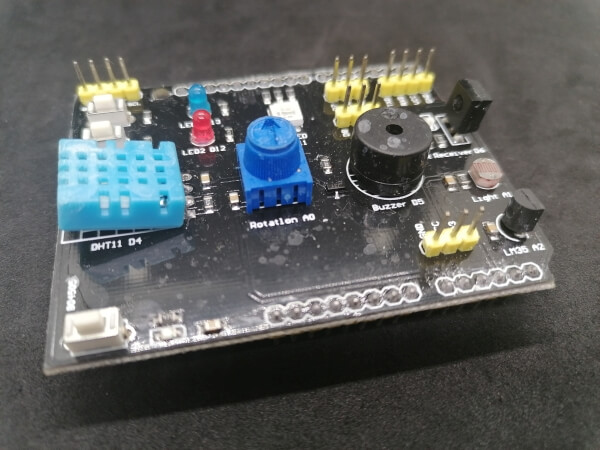
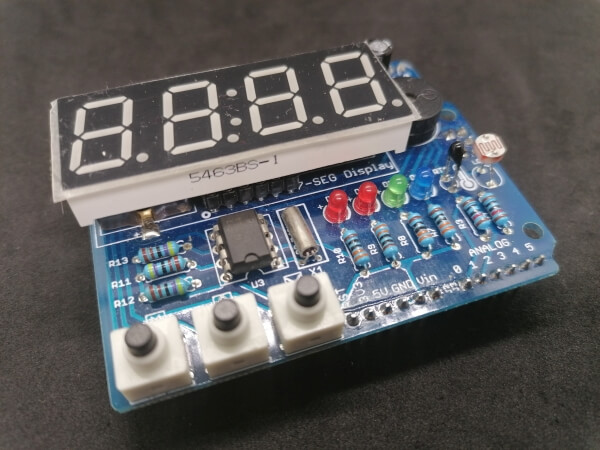
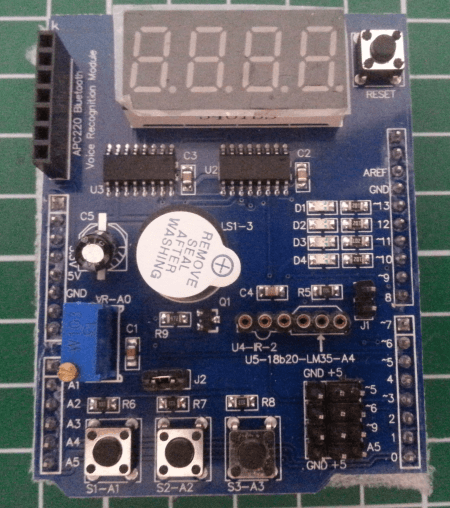
I have sold my first multifunctional shield in the bottom edge o this gallery, so I only have an old photo from this device.
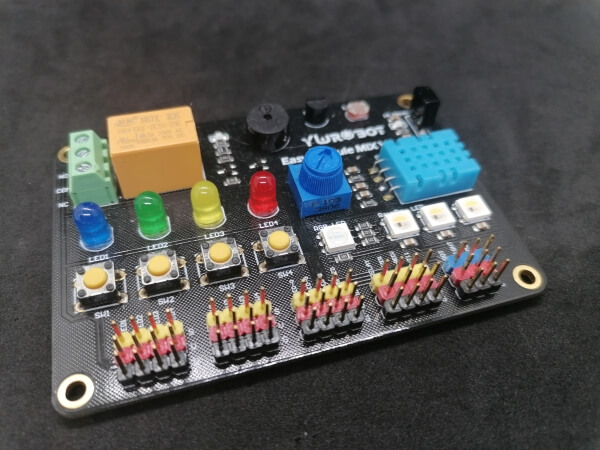
From the company yurobot, you get a multifunctional shield, this shield you can’t stick onto an Arduino, for this shield you need some breadboardwires.
Price comparation
Some of these multifunction shields have been on the market for a long time, these shields are very cheap, the newer ones are still a bit expensive today.
You can buy these signs at ebay.de or for example at aliexpress.com, banggood.com, wish.com and so on. In my case, I buy most of them from ebay or aliexpress.com, the delivery to Germany takes about 14 business days and I think is okay.
The price is between €2 and €9 for the new one from OPEN SMART.
Overview of Sensors & Actors placed on these Shields
Most of them still have sensors like
- DHT11,
- DS18B20,
- LM35DZ,
- NTC Resistor
and actors like:
- Relay,
- LED,
- IR-Diode,
- Switch / Button,
- Rotary Resistor
Some of these sensors and actors I’ve got presented in some blog posts in the past at my German section. In the future I will translate them so got easy access in English to these posts.
Coding these Shields in Arduino IDE
You can program these Shields in the Arduino IDE. This tool is free, and you get it for Microsoft Windows, Linux and macOS.
For some of the placed sensors & actors you need libraries, with the Arduino IDE it’s very easy to get them. The Arduino IDE has a build in Library-Manager, there you can easily search for a sensor or actor and find a huge list of entries.
In the following sample, I’ve searched for a library for the digital temperature sensor DS18B20. You can see at the scrollbar, there are so many more entries.
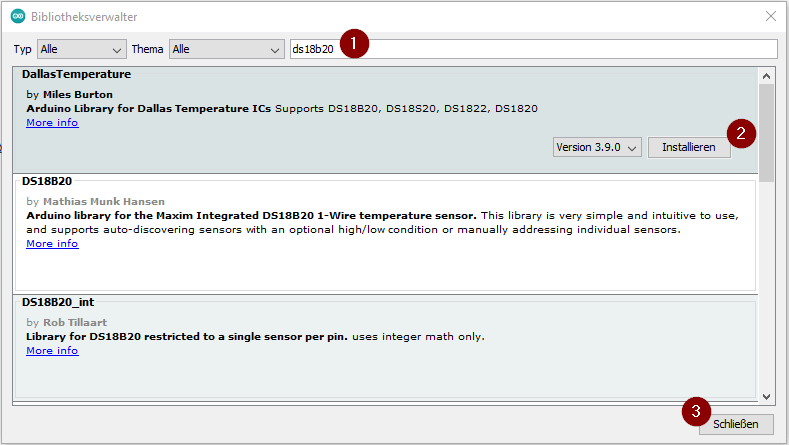
I’m a German developer, so I’ve installed a German version of Arduino IDE, in my case the button to install the selected library is called “Installieren”. If you have installed an English version, I think the buttons has to be called “Install”.
With every library, you get a sample code. You have to change the pin of the wired sensor / actor in the code.
