Hey guys! Today I would like to introduce you to the latest achievement in the world of microcontrollers – the brand new Arduino UNO R4! This impressive microcontroller comes in two versions: with WiFi and LED matrix or in a slim Minima version. In this post, I’ll give you a first look at the specs and features of both models. But don’t worry, I will dedicate separate, detailed posts to each of the two microcontrollers soon.
Table of Contents
- Technical data in a duel: Arduino UNO R4 Wifi vs. Minima
- Arduino UNO R4: Only available in the official Arduino Store!
- Scope of delivery of the microcontrollers
- Connecting and setting up the microcontrollers on the Windows PC
- Prospects
Technical data in a duel: Arduino UNO R4 Wifi vs. Minima
In the following, I show you a detailed table with the technical data of both microcontrollers. You will notice that the data is largely similar. However, the Arduino UNO R4 with Wi-Fi support offers additional features like Wi-Fi and Bluetooth Low Energy through the built-in ESP32 S3 chip. Let’s dive deeper now and explore these interesting details in more detail.
| Arduino UNO R4 Minima | Arduino UNO R4 WiFi | |
|---|---|---|
| Microcontroller | Renesas RA4M1 (ARM cortex-M4) | |
| Speed | 48 MHz | |
| ESP32 S3 – bis zu 240 MHz | ||
| Memory | R4AM1, 256 kB Flash, 32 kB RAM | |
| ESP32-S3, 384 kB ROM, 512 kB SRAM | ||
| Interfaces | UART, I2C, SPI, CAN | |
| USB-Interface | USB-Typ-C | |
| digital Pins | 14 | |
| digital PWM Pins | 6 | |
| analog Pins | 6 | |
| DAC | 1 | |
| Power at Pins | 5 V | |
| Input power supply | 6-24 V | |
| max. power consumption at Pin | 8 mA | |
| Features | Wi-Fi, Bluetooth Low Energy (BLE), 12 x 8 LED Matrix (red) | |
| Dimensions (LxB) | 68.85 mm x 53.34 mm | |
I find the 12×8 LED matrix especially cool, on which we can quite easily output debug output and thus could do without an additional display.
Arduino UNO R4: Only available in the official Arduino Store!
I am happy to announce that the two microcontrollers are available exclusively from the official Arduino Store. To get my own, I ordered them there and was pleasantly surprised by the moderate delivery time of just under 10 days. Considering that these two microcontrollers were just released, this was no surprise. If you’d like to get your hands on this groundbreaking technology too, just head over to the Arduino Store and secure your own.
Here are the direct links:
Scope of delivery of the microcontrollers
The scope of delivery of the microcontrollers includes a small, transparent adapter plate as well as a set of stickers and a warranty slip.
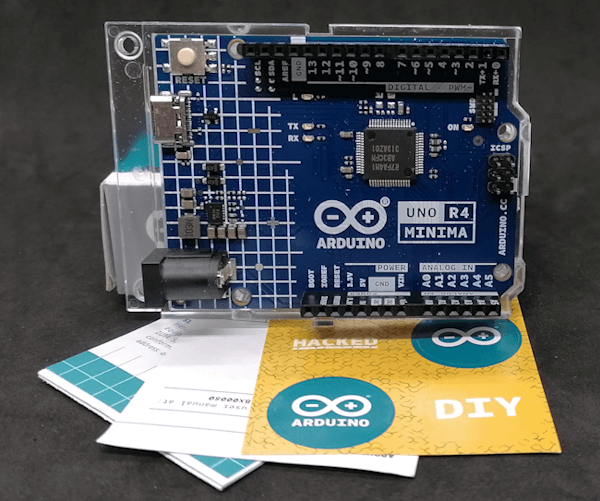
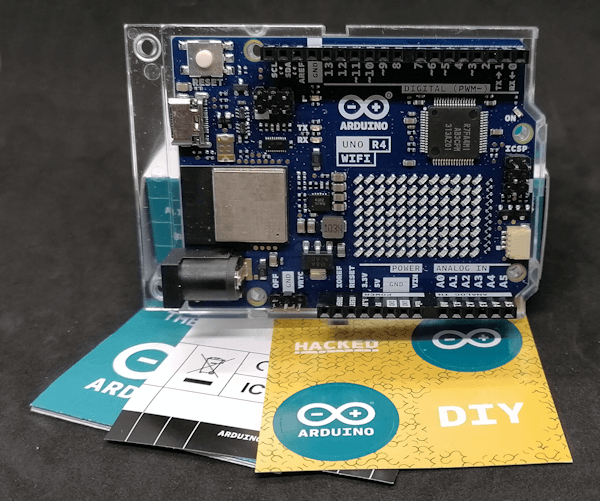
What is missing is a USB Type-C data cable. However, almost everyone should have this at home.
Connecting and setting up the microcontrollers on the Windows PC
Now we move on to connecting the two microcontrollers to the PC. Although no suitable USB-C data cables are included, they should be readily available from a microcontroller developer. As soon as I connected the Arduino UNO R4 Minima microcontroller to my Microsoft Windows 10 PC, it was recognized as “Santiago” and included as serial devices.


The Arduino UNO R4 WiFi was recognized as “UNO WiFi R4” and also set up as a serial device in the device manager.
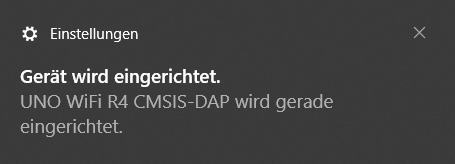
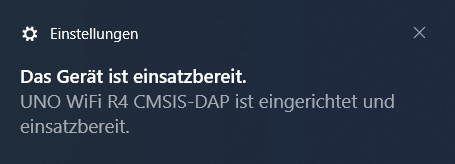
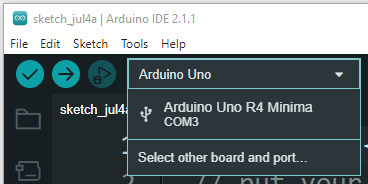
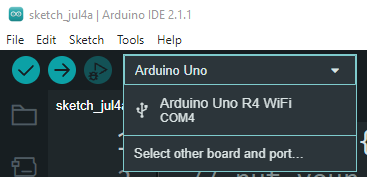
However, in the Arduino IDE 2.0 both microcontrollers are displayed correctly and thus you could use both microcontrollers on one PC and recognize which one you would just play.
Prospects
And this is just the beginning! In the coming days, I will dedicate a separate post to each of the two microcontrollers – the Arduino UNO R4 with WiFi and the Minima version. There I will go into detail on how you can program them in the Arduino IDE. You can look forward to lots of code examples, tips and tricks. So stay tuned and let’s dive into the fascinating world of programming with the Arduino UNO R4 together!
