In this post, I want to show you how to setup the Arduino IDE 2.0 on your computer and install the Arduino UNO microcontroller.
Requirements for Arduino IDE
You can download and unzip the Arduino IDE for Microsoft Windows, Linux and macOS. If you want to run this at Linux, you need some grants to get access to serial ports. At Microsoft Windows you have two options to install this tool, one is simple to unzip at a folder the other one is to install via EXE-File or MSI-File there you need grants to install software and drivers.
Download Arduino IDE to install at Microsoft Windows
First goto webpage https://www.arduino.cc/en/software and select “Windows Win 10 and newer, 64 bits” or “Windows MSI installer”.
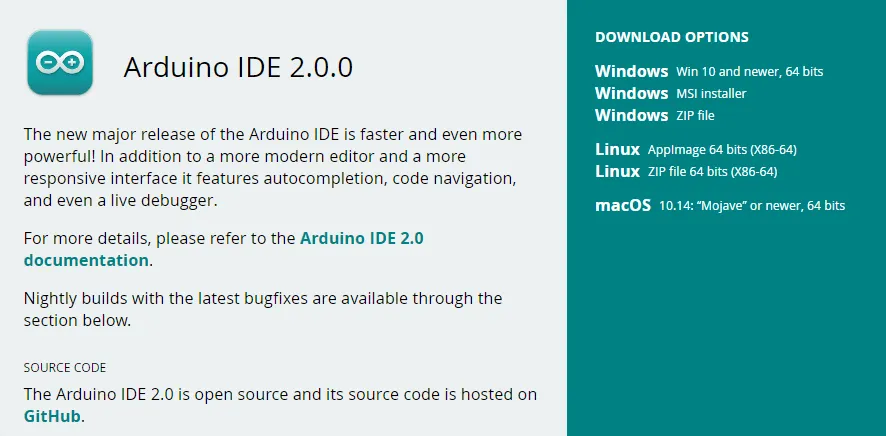
In my case, I click at “Windows MSI installer“, and the site below will be displayed. If you want to support the Arduino Project you can spend some money by click at “CONTRIBUTE & DOWNLOAD” if you only want to download you just click at “JUST DOWNLOAD”, i both cases you get the latest version of Arduino IDE 2.0.

If the 162 MB file is downloaded, you can open this by a double click and start install process.
Install via MSI-File
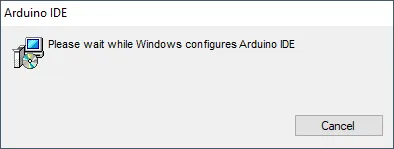
When the installer is started, you have to wait till the hole configuration is loaded, this will take some minutes. There you can see a small window with the actual state.
When this step is done, you can find a new icon at your desktop like below.

Now you have to run this tool first and some more install have to install. The first one is to get access to internet for this tool.

If you allow this, you have to install the Arduino USB Driver.
If the driver is installed, the installation process is done, and you can code your first program.
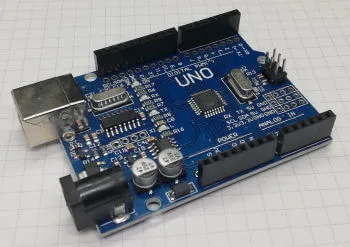
Buy a microcontroller
You can buy a original Arduino UNO R3 at https://store.arduino.cc/collections/boards/products/arduino-uno-rev3 for current €24 with shipping cost to your country. If you doenst have so much experience with coding for microcontrollers and cuircuit i would prefer a cheap clone from china. This clone is cheap and have the same functions like the original. You can find them at ebay.de from €5*.
Note from me: The links marked with an asterisk (*) are affiliate links. If you make a purchase through these links, I will receive a small commission to help support this blog. The price for you remains unchanged. Thank you for your support!

At amazone.de you can find some kits with electric parts, shields and modules and a Arduino UNO this is for beginners very useful. I’ve bought such a kit for 5 years as a beginner and I think it was very useful.
Connect Arduino UNO and write a tiny program
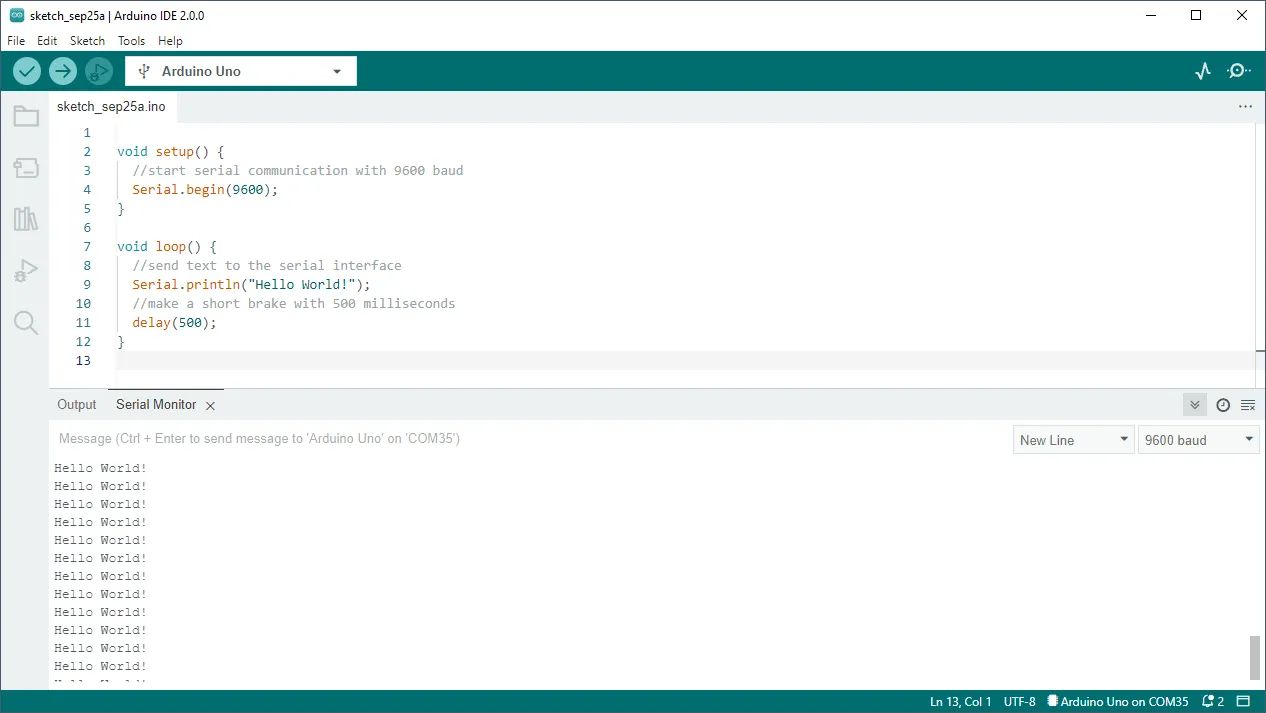
Now we want to write a tiny program that’s only write the text “Hello World!” to the serial interface.
void setup() {
  //start serial communication with 9600 baud
  Serial.begin(9600);
}

void loop() {
  //send text to the serial interface
  Serial.println("Hello World!");
  //make a short brake with 500 milliseconds
  delay(500);
}
Before you can run this, you have to select your board.
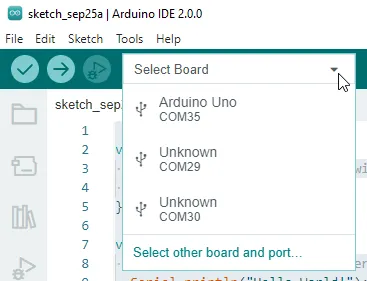
The new Arduino IDE 2.0 can display the board name from none official boards. The “old” IDE doesn’t display the board name if it’s not official.
With the arrow from the toolbar, you can upload your code to your device. If it’s done, you can click at the magnifier symbol at the right site, you can open the “Serial Monitor” and now see your output from your code.
Control onboard LED from Arduino UNO R3
Next, we want to control the onboard SMD LED from our Arduino UNO R3. This tiny LED is assembled to the digital pin 13 at your board.

A digital pin can have two state HIGH and LOW. With the function digitalWrite(<PIN>, <STATE>) you can set this state. To make a LED blink, we only have to execute this command with a certain delay. But first you have to define the direction of this pin. For an LED you have to set this as output.
void setup() {
  //start serial communication with 9600 baud
  Serial.begin(9600);
  //direction of the digital pin 13
  pinMode(13, OUTPUT);
}

void loop() {
  //send text to the serial interface
  Serial.println("LED ON");
  //set digital pin 13 as HIGH, activate the onboard LED
  digitalWrite(13, HIGH);
  //make a short brake with 500 milliseconds
  delay(500);
    //send text to the serial interface
  Serial.println("LED OFF");
  //set digital pin 13 as LOW, deactivate the onboard LED
  digitalWrite(13, LOW);
  //make a short brake with 500 milliseconds
  delay(500);
}
Letzte Aktualisierung am: 10. March 2024